Title banner tutorial
Hi everyone! It’s the Easter holidays- Hooray!!! With all this extra time to play with, why not pop online and add a little bit more to your yearbook projects! Members are usually pretty busy during the holidays so you can expect those books to shape up nicely  I’ve been playing around with fill shapes again this week and I wanted to share this very brief demo on how to make lovely title banners for your pages…

Adding titles to your pages is super simple but if you want to challenge yourself with a little more design work you can make them into real features in the book. This banner style is made using the add shape tool and the colour palette options you’ve chosen for your page.
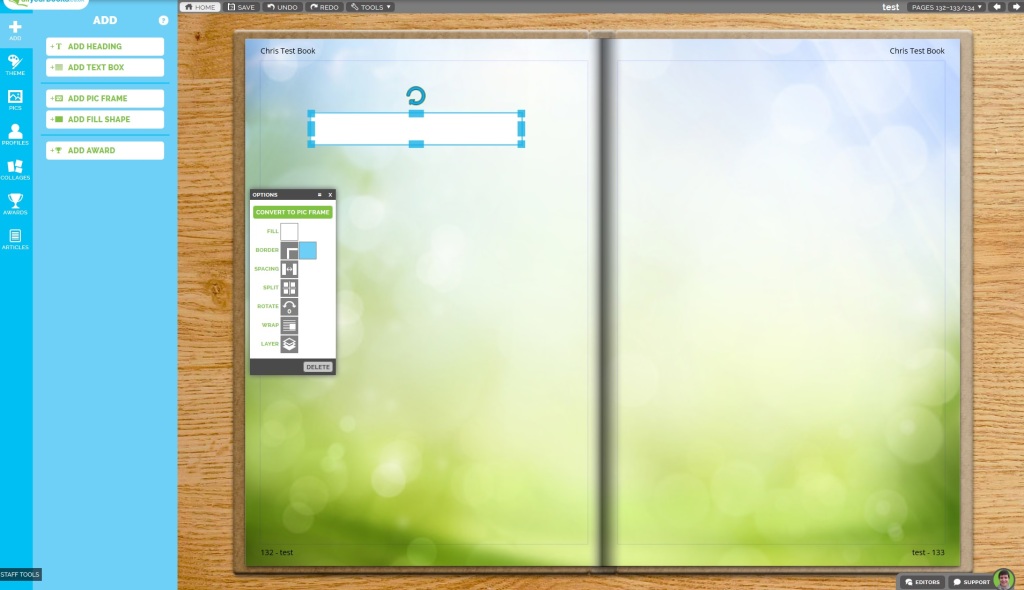
The first thing you want to do is add a fill shape to your page. You can find the option for this by clicking onto the add icon on the left of your screen! To allow you to set position your shapes just right, leave the border set to a darker colour- you can always go back and change this later if you want to!
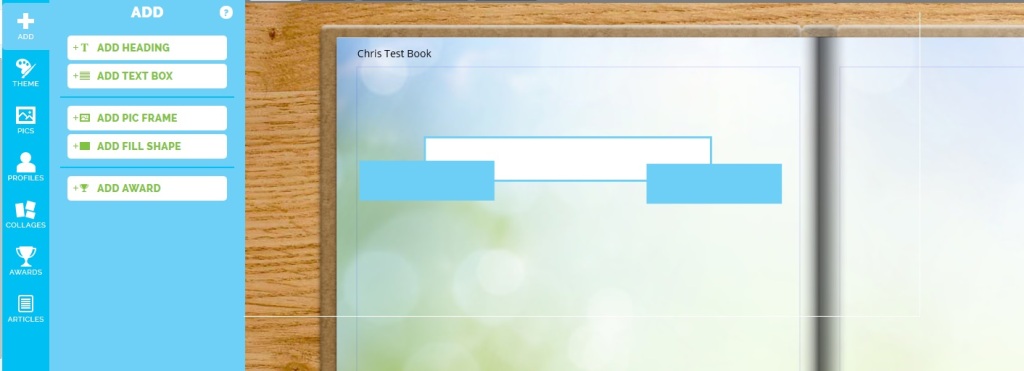
Now you want to add two more shapes but this time set them to a different colour. Add a rectangle to each bottom corner of your first shape and these will form the sides of the banner. Click back onto the first shape you made to snap it to the front of the arrangement you’ve just made.
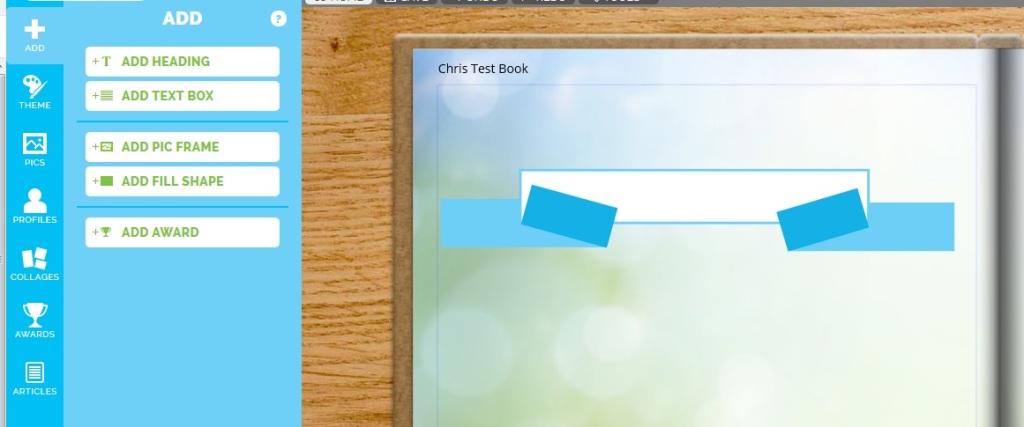
The final shapes you need to create will help you develop the layer effect you’d usually expect from a banner. By using a darker colour we can build a 3D feel to the banner- a darker shade will also give you the effect of shadowing but you could also use a nice complementary colour instead to introduce a little more colour if you wish. With these shapes you want to create a line between the bottom corner of title box and the bottom corner of the banner box as shown above. Don’t worry if the colour shapes overlap your title box as when you click onto this later it will jump to the foreground again 
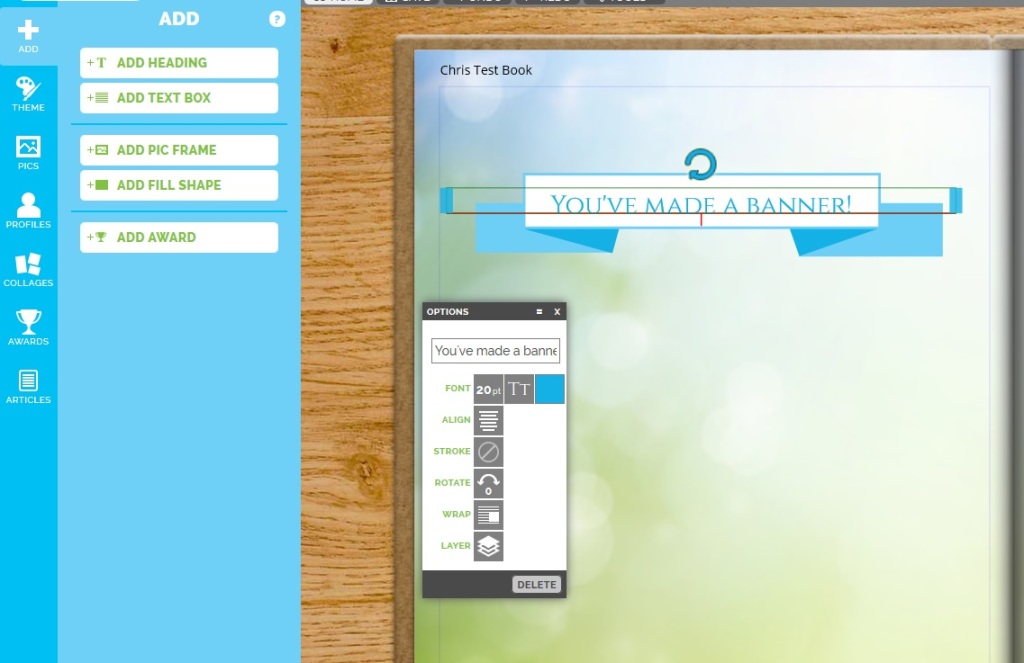
That’s really the basic steps here to make your banner and you can now add your titles by clicking onto Add heading . Position the title text box over the banner you’ve created for a stylish introduction to your pages Ta-da!
Enjoy the bank holiday weekend everybody and don’t forget to check out the to-do list in your books if you’re into the final stages of your project- You can find this on your set up menu in the yearbook home screen!