Members and Groups Masterclass: Part 1
When creating and editing your profile pages, Members & Groups will become your new best friend, so over the next few days we’ll be talking you through how the page works and how to use it effectively.

When you first create your book you may be tempted to jump straight in and start creating profile pages for everybody in your book, but before you get carried away with the design aspects it’s important to set up the basics to avoid any potential headaches closer to your deadline!
One of the first things you need to think about is how you want to display the members in the book – eg, by form class or alphabetical order. Once you know this you will need to create the profile groups.
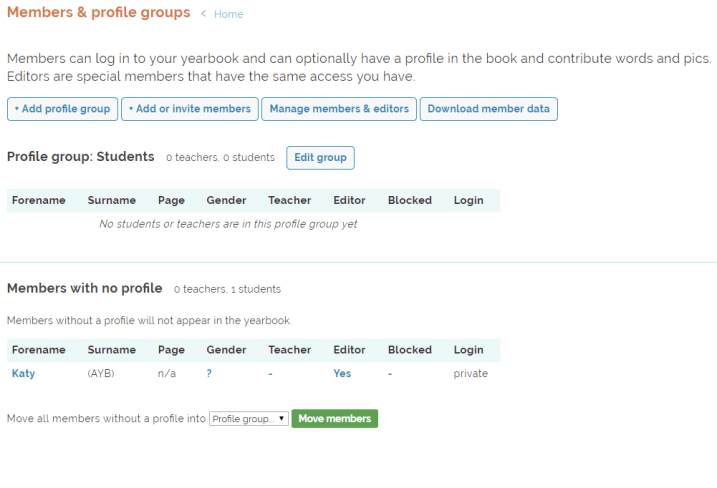
The first time you click onto the Members & Groups tab you will see a similar page to the one above. As an editor you will be placed into ‘Members with no profile’ automatically, which means you will not appear in the book.
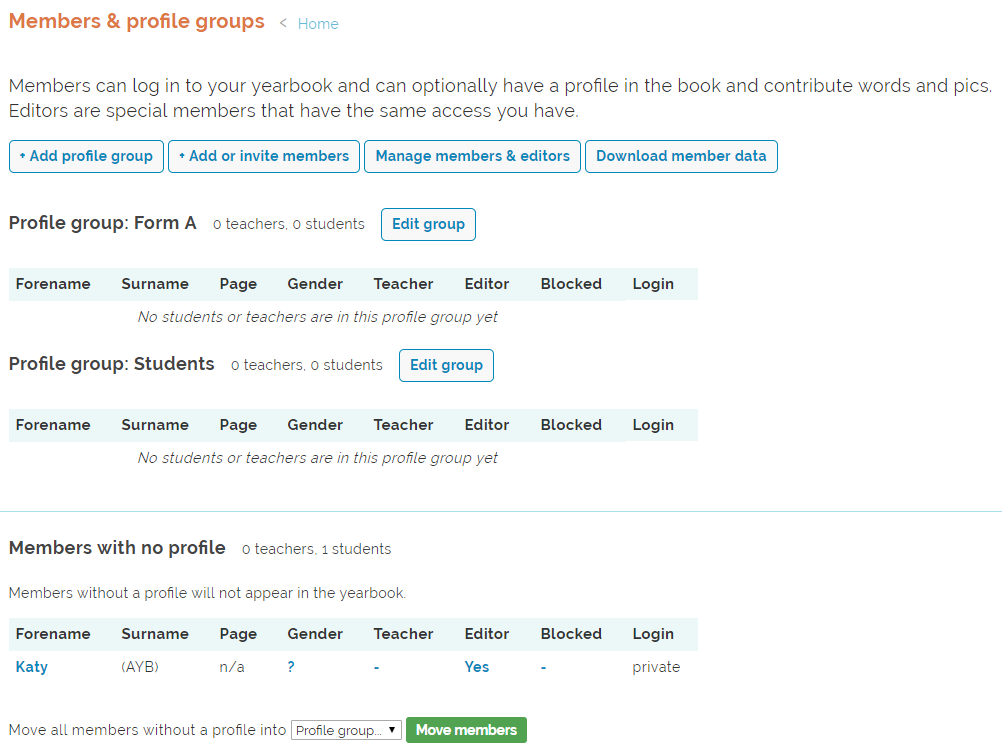
If you are listing all members in one group (eg alphabetical order) you will only need to create one profile group (eg Students). But if you have decided to separate profiles via form group, you will have to create some more groups.
To do this click ‘Add Profile Group’ in the top left of your page. Then, type in the name of the profile group and click ‘Add to yearbook’.

You should now see multiple profile groups listed, any members joining the book will be able to choose which profile group to join.
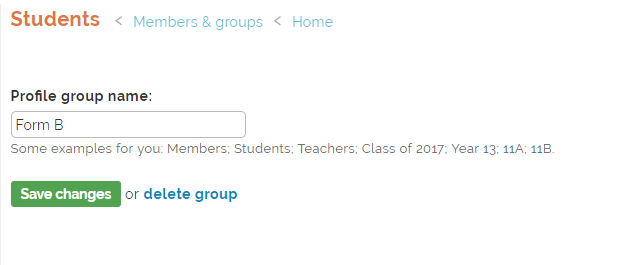
But what if you need to change the name of a profile group? Simply click on ‘Edit Group’ next to the profile name you would like the change, and then type in the new name and save.
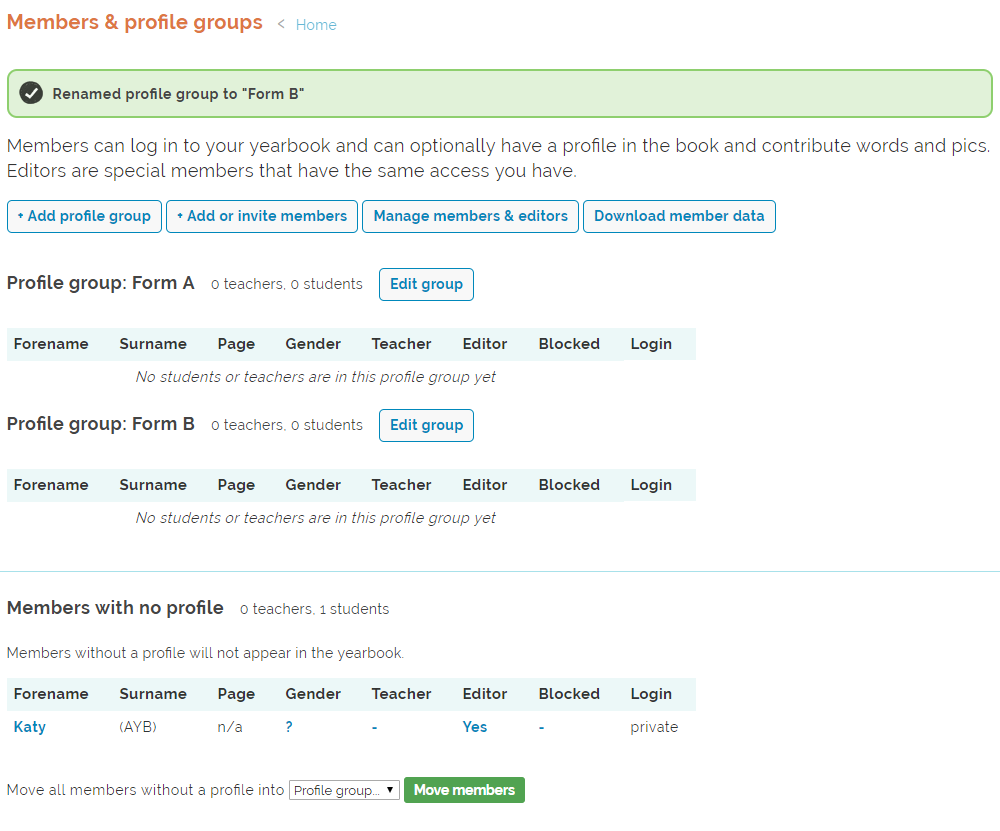
…And voila! We now have two profile groups ready and waiting for members to join!
Tomorrow we’ll discuss how to add or invite members to join your book!